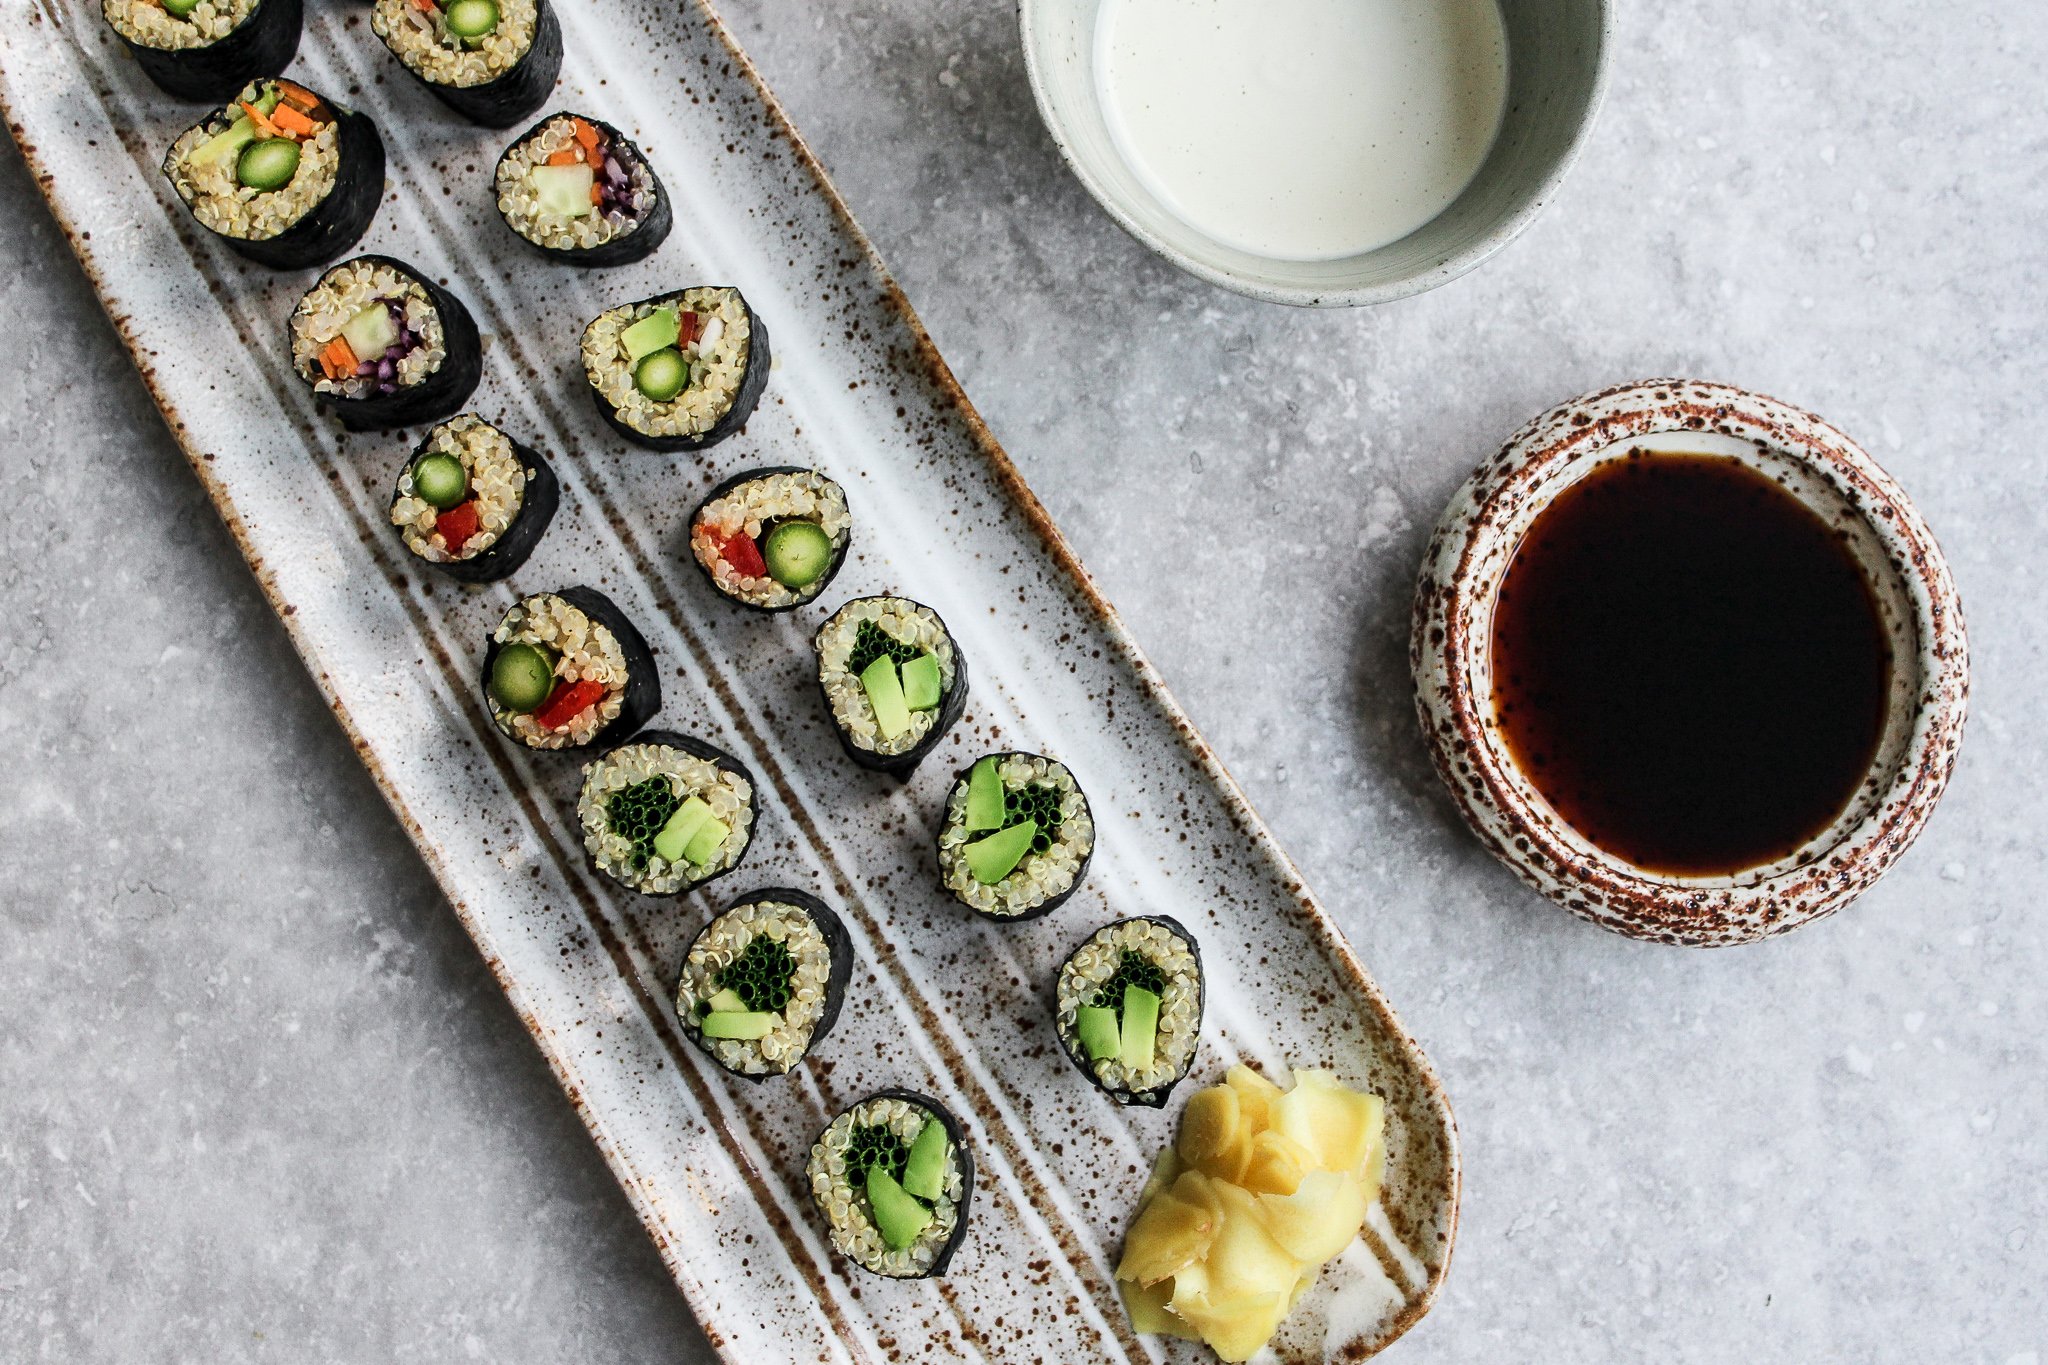
Quinoa makes a wonderful alternative to rice and packs in a little extra protein as we are not using any fish here. You can play with textures and flavours by combining crunchy veg with creamy avocado and serving with some homemade pickled ginger and a selection of dipping sauces. Here i’ve whipped up a quick cashew & wasabi dip, which works so well! Be warned ~ making sushi requires some technical wizardry and patience! Make sure you read my tips below for a fail-safe sushi session. Have fun with this one and get creative!
prep time: 20 minutes make time: 50 mins serves: 4
INGREDIENTS
For the wasabi dipping sauce
- 75g/1/2 cup raw cashews (soaked over night or for 3 hours in boiling water)
- juice of 1 lemon
- 125ml/1/2 cup filtered water
- 1 tsp himalayan salt
- 1 Tbsp wasabi powder
For the sushi
- 250g/1.5 cup quinoa (soaked in water over night)
- 4 sheets nori seaweed
- 1/2 avocado
- 1 carrot ~ julienned
- 1/4 red cabbage ~ finely sliced
- 1/2 cucumber ~ sliced lengthways
- 1/2 red pepper ~ finely sliced
- 4 asparagus spears
- 4 spring onions ~ finely sliced lengthways
- Small bunch fresh chives
- tsp himalayan salt
For the pickled ginger
- 8cm piece of fresh ginger
- 4 Tbsp rice vinegar
- 1 Tbsp filtered water
- 3 tsp of raw honey (use agave for vegan)
- pinch himalayan salt
You will also need:
- a sushi rolling mat
- clingfilm
- a razor sharp knife
- a small bowl of water
METHOD
Wasabi dipping sauce
- Add all ingredients to a high speed blender and blend until smooth!
Sushi
- Drain the soaked quinoa and add to a pan with 750ml/3 cups of filtered water and the salt. Bring to the boil then reduce to simmer. Cook for about 15 minutes or until the quinoa becomes fluffy and a little bit stuck together. Set aside in a bowl and leave to cool.
- Cover the entire sushi rolling mat in cling film.
- Lay the rolling mat down on a clean surface and on the end closet to you, place down a sheet of nori. Leave a 1cm margin (this is what will adhere to the other end once rolled) on the sheet of nori and start to add a bit of the quinoa down the entire width of the nori sheet. Spread evenly covering about 2 inches away from you. Add a small amount of the other veg, mixing it up each time. Always place the veg lengthways across the width (widest side too!) of the nori sheet.
- With your finger, wet the outside edge of the sheet closet to you and the inside edge of the far end of the sheet. Start rolling the mat, pinching in the sushi roll to keep it compact. You need to be quite firm here. It can be tricky but be patient! Keep rolling until the edges meet and seal. Wet again if need be to help them stick. Firmly press together, making sure all the filling is packed inside. Take each side of the rolling mat and gently roll back and forth to form the shape. Don’t squeeze too much, use gentle pressure or the filling will spill out the ends.
- Place the sushi roll on a clean flat surface and cut in to 8 pieces.
- Repeat the process until you’ve used up your nori sheets!
TIPS:
- Make sure you have a razor sharp knife to cut the sushi roll in to pieces or it will collapse. The knife needs to glide through with ease in order to maintain the shape!
- Have a bowl of water handy to wet the edges of the nori sheet. It can get fiddly!
- Do not over fill the roll! Less is more! Overfilling will mean that the edges will not meet and seal.
- Soaking the quinoa over night and cooking it slightly longer than packet instructions will allow it to become ‘sticker’ making it easier to handle when rolling!
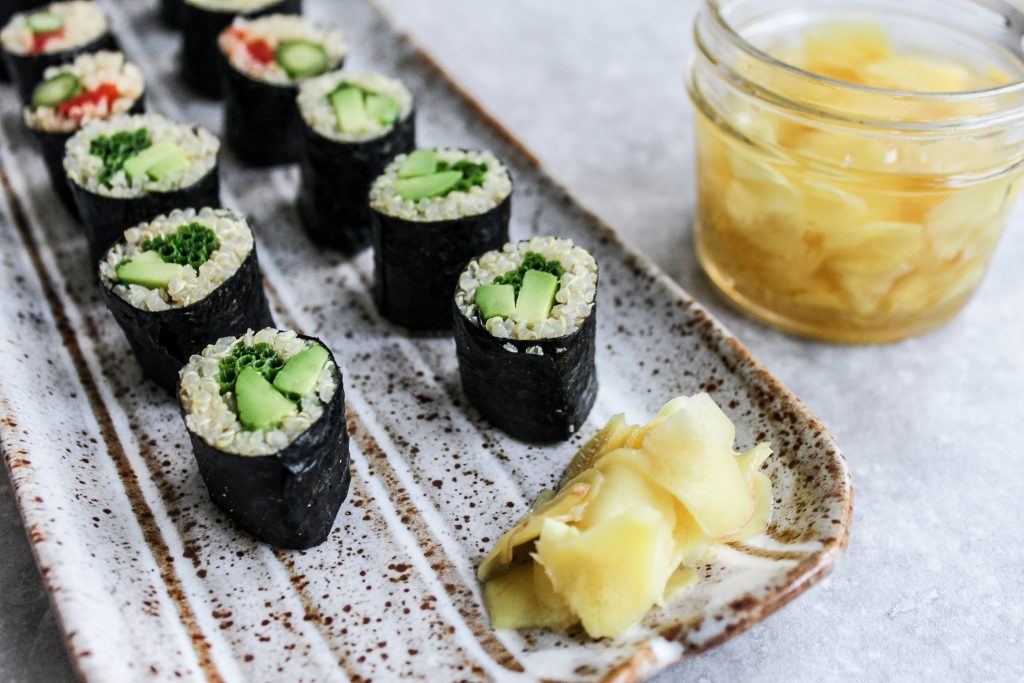
Pickled ginger
- Peel the ginger and using a mandolin, slice with the finest setting. Sprinkle the salt over the ginger slices coating each piece and leave for 15 minutes.
- Whisk up the wet ingredients in a small bowl.
- with your hands, squeeze the excess liquid from the ginger slices, rinse in cold water, squeeze again and place in the vinegar mix. Leave to marinate for 15 minutes. Serve with the sushi!
SERVE + GARNISH
with the pickled ginger
with the wasabi dipping sauce
with tamari (gluten free soy sauce)
NUTRITIONAL BROWNIE POINTS
- Nori, along with other sea vegetables is a rich source of Iodine, a trace mineral. Iodine plays an essential role in thyroid function and the production of thyroid hormones. Iodine also supports a healthy metabolism and is essential for early brain development.

References:
- Choudhry, H. Nasrullah, Md. (2018). ‘Iodine consumption and cognitive performance: Confirmation of adequate consumption’, Food Science & Nutrition, (6), pp.1341-1351.