Before you start reading this post, you may want to visit part 1 so you don’t miss out on any juicy details!
Writing, writing, and more writing
Now you might be thinking that a cookbook doesn’t involve that much writing but let me tell you, it does! I’ll be honest here, I found some of the writing and editing to be the most challenging part of creating this book (other than the set-backs mentioned below), mostly because I naturally gravitate more towards the visual, creative aspects since these are the parts that really feed my soul. A large portion of the writing was infused with a creative, story-telling style, like the introduction for example – something I thoroughly enjoyed writing due to the emotive nature of it, like the recall of childhood memories centred around food. It was a joy to write.
Actual recipe writing (i.e. the method and ingredient list) is quite formulaic and exact – like writing a set of instructions, and in my case, over 80 times! It’s perhaps due to the wiring of my brain as I have a mild aversion to written instructions myself, my brain simply wants to do away with them and figure it out on its own, so writing ‘instructions’ for others, although a crucial and very well considered part of writing a cookbook, is certainly not the most fun part. Writing the recipe description, on the other hand, I enjoyed. Why? Simply because it allowed me to be creative and descriptive.
Then there’s the editing, proof reading a zillion times until your eyes just can’t take it any longer. Although my eyes are fine-tuned to spot typos and errors, and hone in on the tiniest of details, I needed a second set of eyes on this. I recruited my dearest mother here, not only for her impeccable grammar and sharp eye for a typo. She did a sterling job! Oh, how I needed this second set of eyes. First, we’d proof-read the entire manuscript on a word document and then once we’d both okayed it, I added the lot into my InDesign file and once in there, I’d proof read the lot a few more times in situ.
Staying organised and managing my work flow
Ask me where a single item is located in my home and I’ll know exactly where it is. I’m incredibly organised and tidy in my immediate environment but organising a colossal, creative project such as making a cookbook, is a different beast entirely. My neuro-divergent brain naturally wants to jump from one thing to another (unless I’m in hyper-focus mode!), often leading to scattered focus and incompletion of tasks. I struggle with sequential processing (the brain’s ability to organize and carry out tasks in a structured sequence) and my brain wants to skip and dance all over the place, to try and figure it ALL out IMMEDIATELY, therefore I knew the only way to stay on track with this project was to break it down into tiny, very actionable steps. At the very start, I had so many ideas ricocheting around in my head, which made it hard to know where to start and what to action first, leading to a state of mental paralysis. There are SO many moving parts to putting a cookbook together that would typically involve a team of people, and as it was just me, myself, and I, I needed to get a clear (but flexible) plan together!
So, being the big list-maker that I am, I wrote out huge ‘master’ to-do lists, for each category of the book process such as copy, photography, book design, recipe development etc. Then, on the days I’d work on the book, I would pick a task from one of the lists and break that down even further. There’s nothing more satisfying than grabbing a pen and striking through an item, not to mention the pleasing hit of dopamine such a thing can offer. So, I made these lists very visable to me, not tucked away in a notebook or on my phone. No, they were all stuck on my fridge door, staring at me every single day.
This essentially created a framework for me and I could then zoom out and see the bigger picture, which detailed everything I needed to do to complete the project. But the idea here is not to get overwhelmed by seeing it mapped out in this way, revealing the masses of work that lay ahead. It didn’t overwhelm me, rather it gave me clarity on all the steps involved, plus it cleared up A LOT of brain space getting everything down onto paper. I created a set of guidelines to follow throughout the process and it helped enormously with staying focused!
Just to add to this, I found that I worked best by honouring how I felt and what sort of mood I was in on a given day, if I had more physical energy and didn’t particularly want to be sitting at my laptop, I’d focus on testing recipes, and then there would be days I’d feel more verbally fluent and I could find my flow with my writing. I wasn’t too regimented and structured about planning certain tasks for set days, just so long as I was ticking things off the list, moving the needle, and getting closer to my end goal, I allowed myself some flexibility to suit my mood.
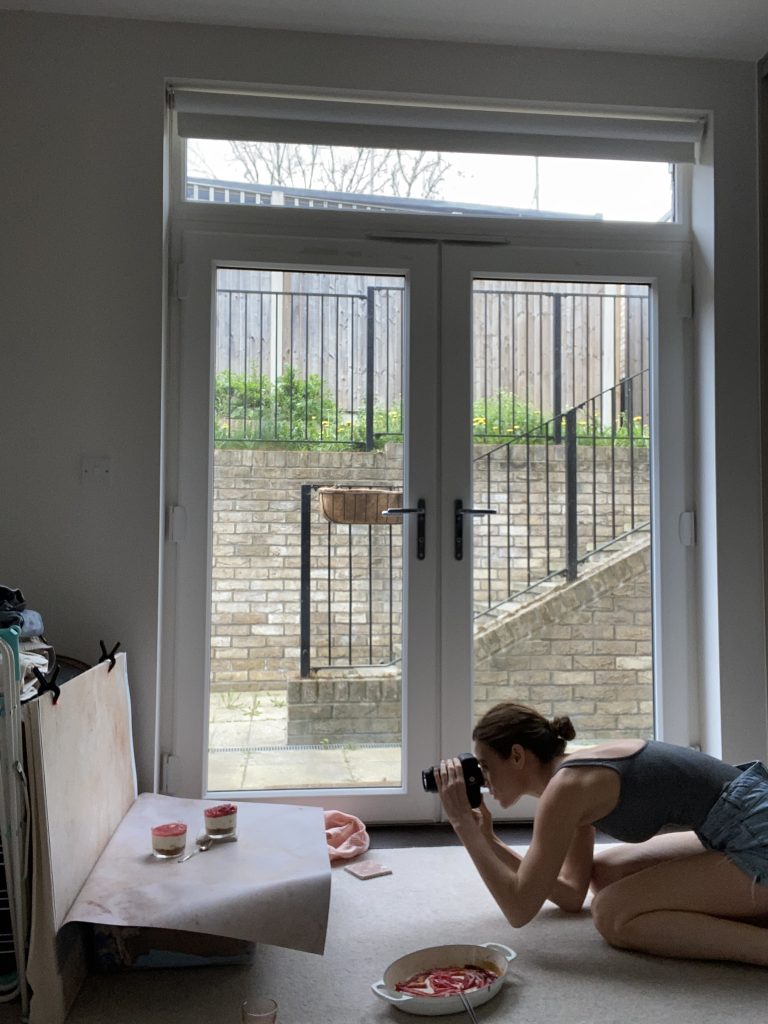

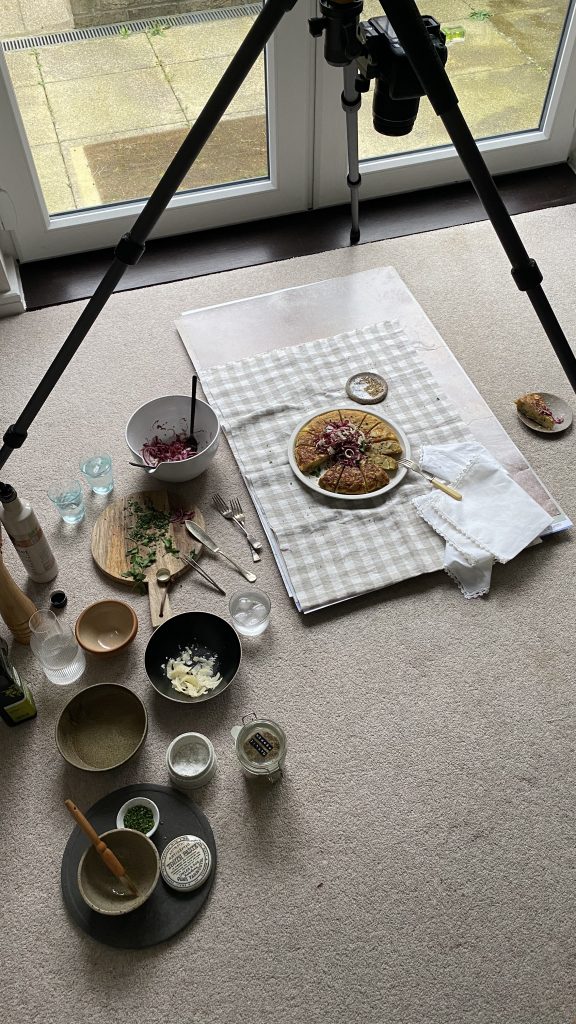
Shooting and styling – in my element!
Printing and binding
There are many details to consider when it comes to the printing and binding. I started out by researching printers that offer smaller print runs, ideally located in the UK although I was open to overseas printing. I got in touch with several printers and arranged for them to send me paper samples. Some printers will even send you sample books to give you a better idea on print and binding quality. I love samples and swatches and spent ages feeling the paper – the texture was important to me since I’m a very tactile person! I chose an uncoated paper stock rather than coated as it provides a beautiful matte, vintage feel. Coated paper has a slight sheen to it and tends to yield a crisper print quality. There were several paper weights available, ranging from 80gsm (grams per square meter) to 170gsm. I chose 120gsm, as anything lighter tends to be a bit too transparent.
Amongst the samples laid out in front of me was a selection of coloured paper stock – as silly as this might sound, this part was the most joyful to me. I’m obsessed with colour swatches! Little backstory – when I was a kid, I’d go to hardware stores and run to the paint section where I’d carefully select the little paint chart strips on display. I had quite a collection of them. So, looking at these paper samples in front of me, sparked the same joy I felt when I was younger. The things you loved as a child never leave you. So, this coloured paper stock was to be used as ‘end papers’ – these are glued to the very front and back of the book (the first thing you see when you open the book). A deep maroon caught my eye and I knew that this was THE one. I knew it would look gorgeous with the buttermilk cream colour I chose for my front cover.
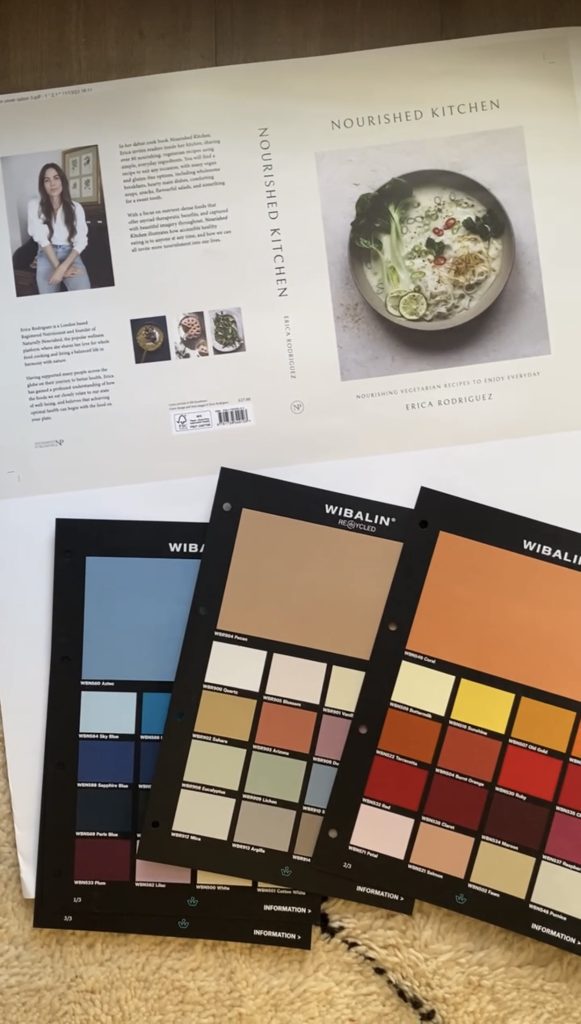

Front cover proof and swatches for the end papers. A little glimpse of the end paper in situ. It’s all about the details!
Another little detail that you may or may not have noticed when holding a hardback book are the little fabric bands that sit either end of the spine. These are called head and tail bands, and they also come in various colours to chose from. I settled on a forest green. This little finishing touch is barely visable but my eyes are drawn to these small details and they please me so. I also knew that I wanted my book to be a hardcover and not a paperback. I had a very clear vision of what I wanted my book to look like but this meant that it would be costly to produce! My focus wasn’t on profit margins; instead, it was all about figuring out how to make this book reflect my vision in both appearance and feel.
As you might imagine, I spent a lot of time back and forth with several printers, collecting samples and getting quotes, I then narrowed it down to 2 and weighed up my options looking at things like lead time, paper quality, print quality, pricing, FSC certified. I got there in the end but as you continue reading, you’ll discover it wasn’t a particularly smooth operation with the printers I’d finally selected!
The setbacks
Oh yes – there were definitely a few setbacks and a few tears but that just comes with the territory of any big project you take on. Apart from minor setbacks like a recipe not turning out quite how I’d expected or patiently navigating InDesign for the first time, there were a few bigger hurdles jump too.
I lost my InDesign file and had to start again (I cried), which was very stressful but luckily, I was only about a third of the way through designing the book and to soften the blow, it was only the design that I had to re-do – my copy was saved as word documents so it could easily be added back in, but still.
Saying that however, I also somehow managed to lose my entire introduction and was absolutely gutted because I’d spent so long pouring a lot of love into writing that (I cried again). I searched high and low for it on my laptop and hard drive but it was nowhere to be seen. It disappeared from sight, in the same fashion as a mosquito, when it knows it’s been spotted. Gone. I went down a forum rabbit-hole to get some answers, thinking there has to be a way to retrieve it. I figured the time I was spending on trying to locate it, could just be spent typing a new draft. I gave up the search and set about writing it once more but I felt completely deflated – I was really quite attached to the original draft, I knew in my heart it was a good piece of writing and finding my creative flow with words is not something that occurs on a daily basis. Luckily, I managed to retrieve it several weeks later after a random clue appeared to point me to its whereabouts. I love it when this happens – when all is calm, and you let go, the answers appear. An important message!


My kitchen – where it all happened!
I found it, with an entirely new file name in a hidden, temporary file on my hard drive. It was like finding a long-lost friend, and just as I’d thought, the original was better than the new version. It goes without saying that the key message here, although it sounds like an obvious thing to do, was to back up, and when you’re finished backing up, back up some more! So, I did.
Then, when the book was finally complete, I went to export my InDesign file to send to the printer for my proofs to be printed, and I was greeted by the annoying spinning wheel of doom on my MacBook. It had been going for around 40 minutes and I really needed to get the file to the printer, so I had to force quit the application. Risky, I know, but I knew the file was backed up and saved on my hard drive so all was good. No, it wasn’t. When I went to reopen it, the file had been corrupted and several pages were missing, and they only happened to be the ‘difficult’ to replace pages – the ones with more intricate design detail, which took me forever to complete. Why these ones?? (more tears shed)
I cried, went for a walk, and then, when my head was clear, a solution came to me! So, in these moments, removing yourself from the situation, letting go of any frustration and surrendering can be most helpful.
The finish line is in sight
Contrary to what you may think, the very final push to completion was somehow quite a challenge. The finish line was in sight but there were still a few hurdles to jump – it was this part that took the most mental focus and resilience, making sure to dot the I’s and cross the T’s. I was so nervous and frazzled by this point and my tired brain desperately wanted a break but, I had to keep going. I was cursing myself for taking on this project alone, however I had made it this far, and no one was coming to help me with the final sprint.
I hired an indexer to index my book – the A-Z tucked away at the back. This being the only part I outsourced, largely out of necessity, to preserve my sanity. Had I contemplated seeing to the indexing myself? Of course, I did! But once I realised it would involve learning even more software, I swiftly backed away and handed it over to a professional.
As I reviewed the design file I was about to export for printing, I realised that making the file compatible with the chosen printer was yet another headache. I deeply wished I had a graphic designer guiding me through this process as selecting the incorrect export settings could impact the final print outcome. I consider myself to be pretty tech-savvy but there were so many settings and did I mention my brain had reached its capacity at this stage?!
Meanwhile I was also busy designing and creating content for the sales page on my website, creating 3D mock-ups for the book, getting my web shop up and running and seeing to the back-end stuff. It was happening, and becoming VERY REAL at this stage – I felt a huge surge of emotion. I was soon to be a published author and make my dream become a reality!
On the day my book was due to go to print, I receive a call from my printer informing me that the colour I’d chosen for my end papers was out of stock, asking if I’d like to choose another colour. NO, was the simple answer to that. I had my heart set on that beautiful deep maroon colour, from the get go! Alas, I had to wait until the new year for my book to be printed. While feeling somewhat gutted (I so badly wanted that book in my hands before the end of the year), I surrendered and took a deep breath. “2024 it is then”.
The final test (time to fully surrender)
In addition to this, I encountered a whole host of issues with the printers, particularly during my first print run, which had to be returned and re-printed. Not something I had anticipated in the very least. Cue melt-down. This was hands-down, the most stressful part of the process – it reached a crescendo that was entirely beyond my control. As a result, the publishing date was pushed back quite significantly. However, as I like to search for the silver lining in a testing situation (once the tears of frustration had evaporated), I was grateful (marginally) for the experience. This was yet another reminder to myself that ultimately, there’s a solution to anything you’re presented with, and the best part is that you learn and grow from the challenges and setbacks, then going forward, you might do things differently.
As much as I felt defeated at the time—often feeling like I was taking three steps forward and ten steps back—there’s always a little nugget of wisdom to glean from setbacks. I embrace them, as they are all part of the human experience. Knowing and accepting what’s not in your control is a very good mindset to adopt!
A published author
After a long, winding journey on this creative solo adventure, I finally got to hold my published book in my hands. A feeling of immense accomplishment washed over me – it was a true labour of love. I had done it – my life-long dream became a reality. You may be wondering if it was all worth it, and I can tell you categorically that it absolutely was, and that I’d do it all again (already have plans for book no.2!).
So, what got me to the finish line? A mighty dose of passion and determination! For anyone reading this that shares the same dream of self-publishing a cookbook, I’m here to say it’s absolutely possible so do not doubt yourself and go for that dream!


Nourished Kitchen, in Daunt Books!
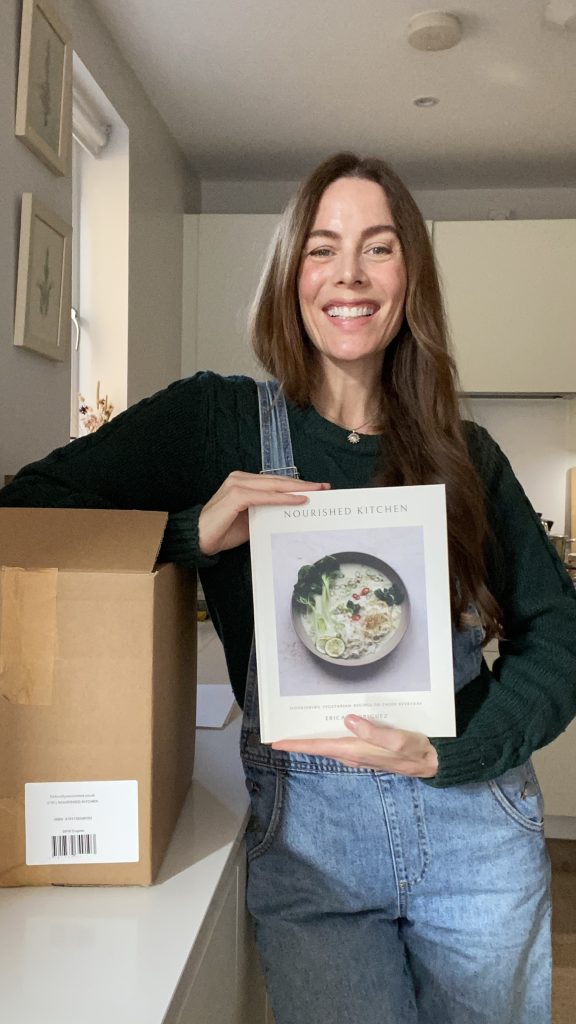
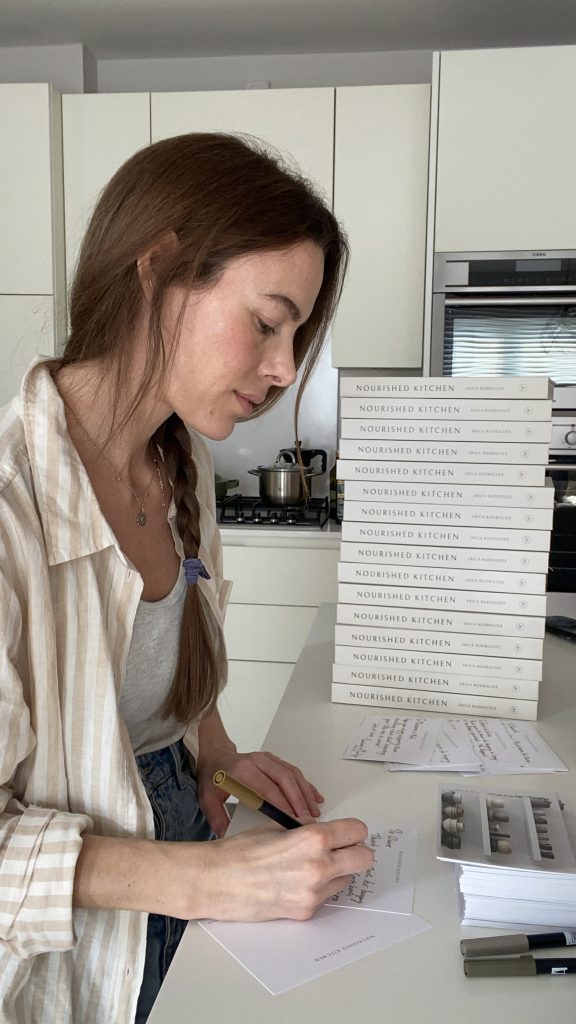
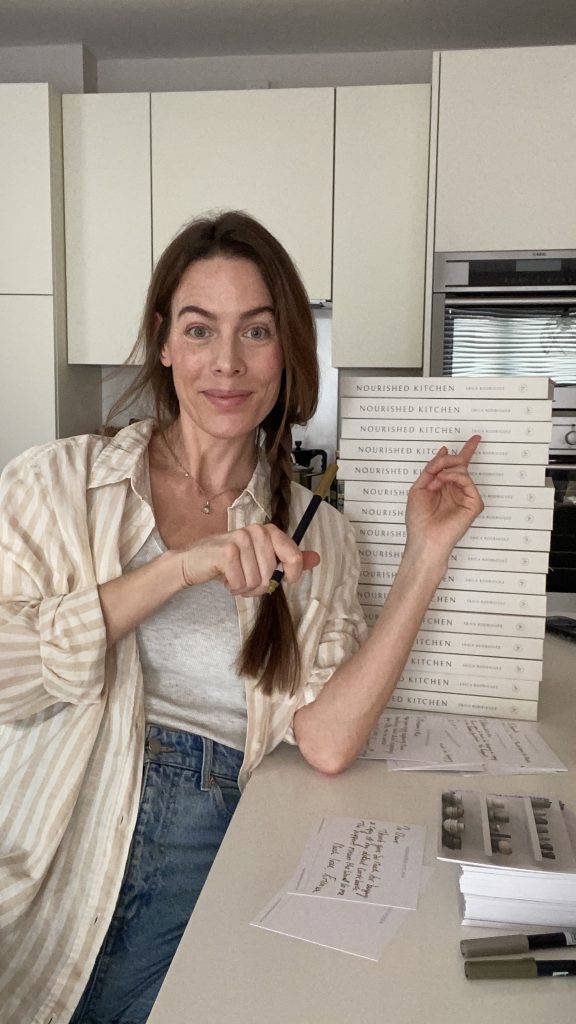
Holding my book for the first time. Signing copies to send out 🙂
