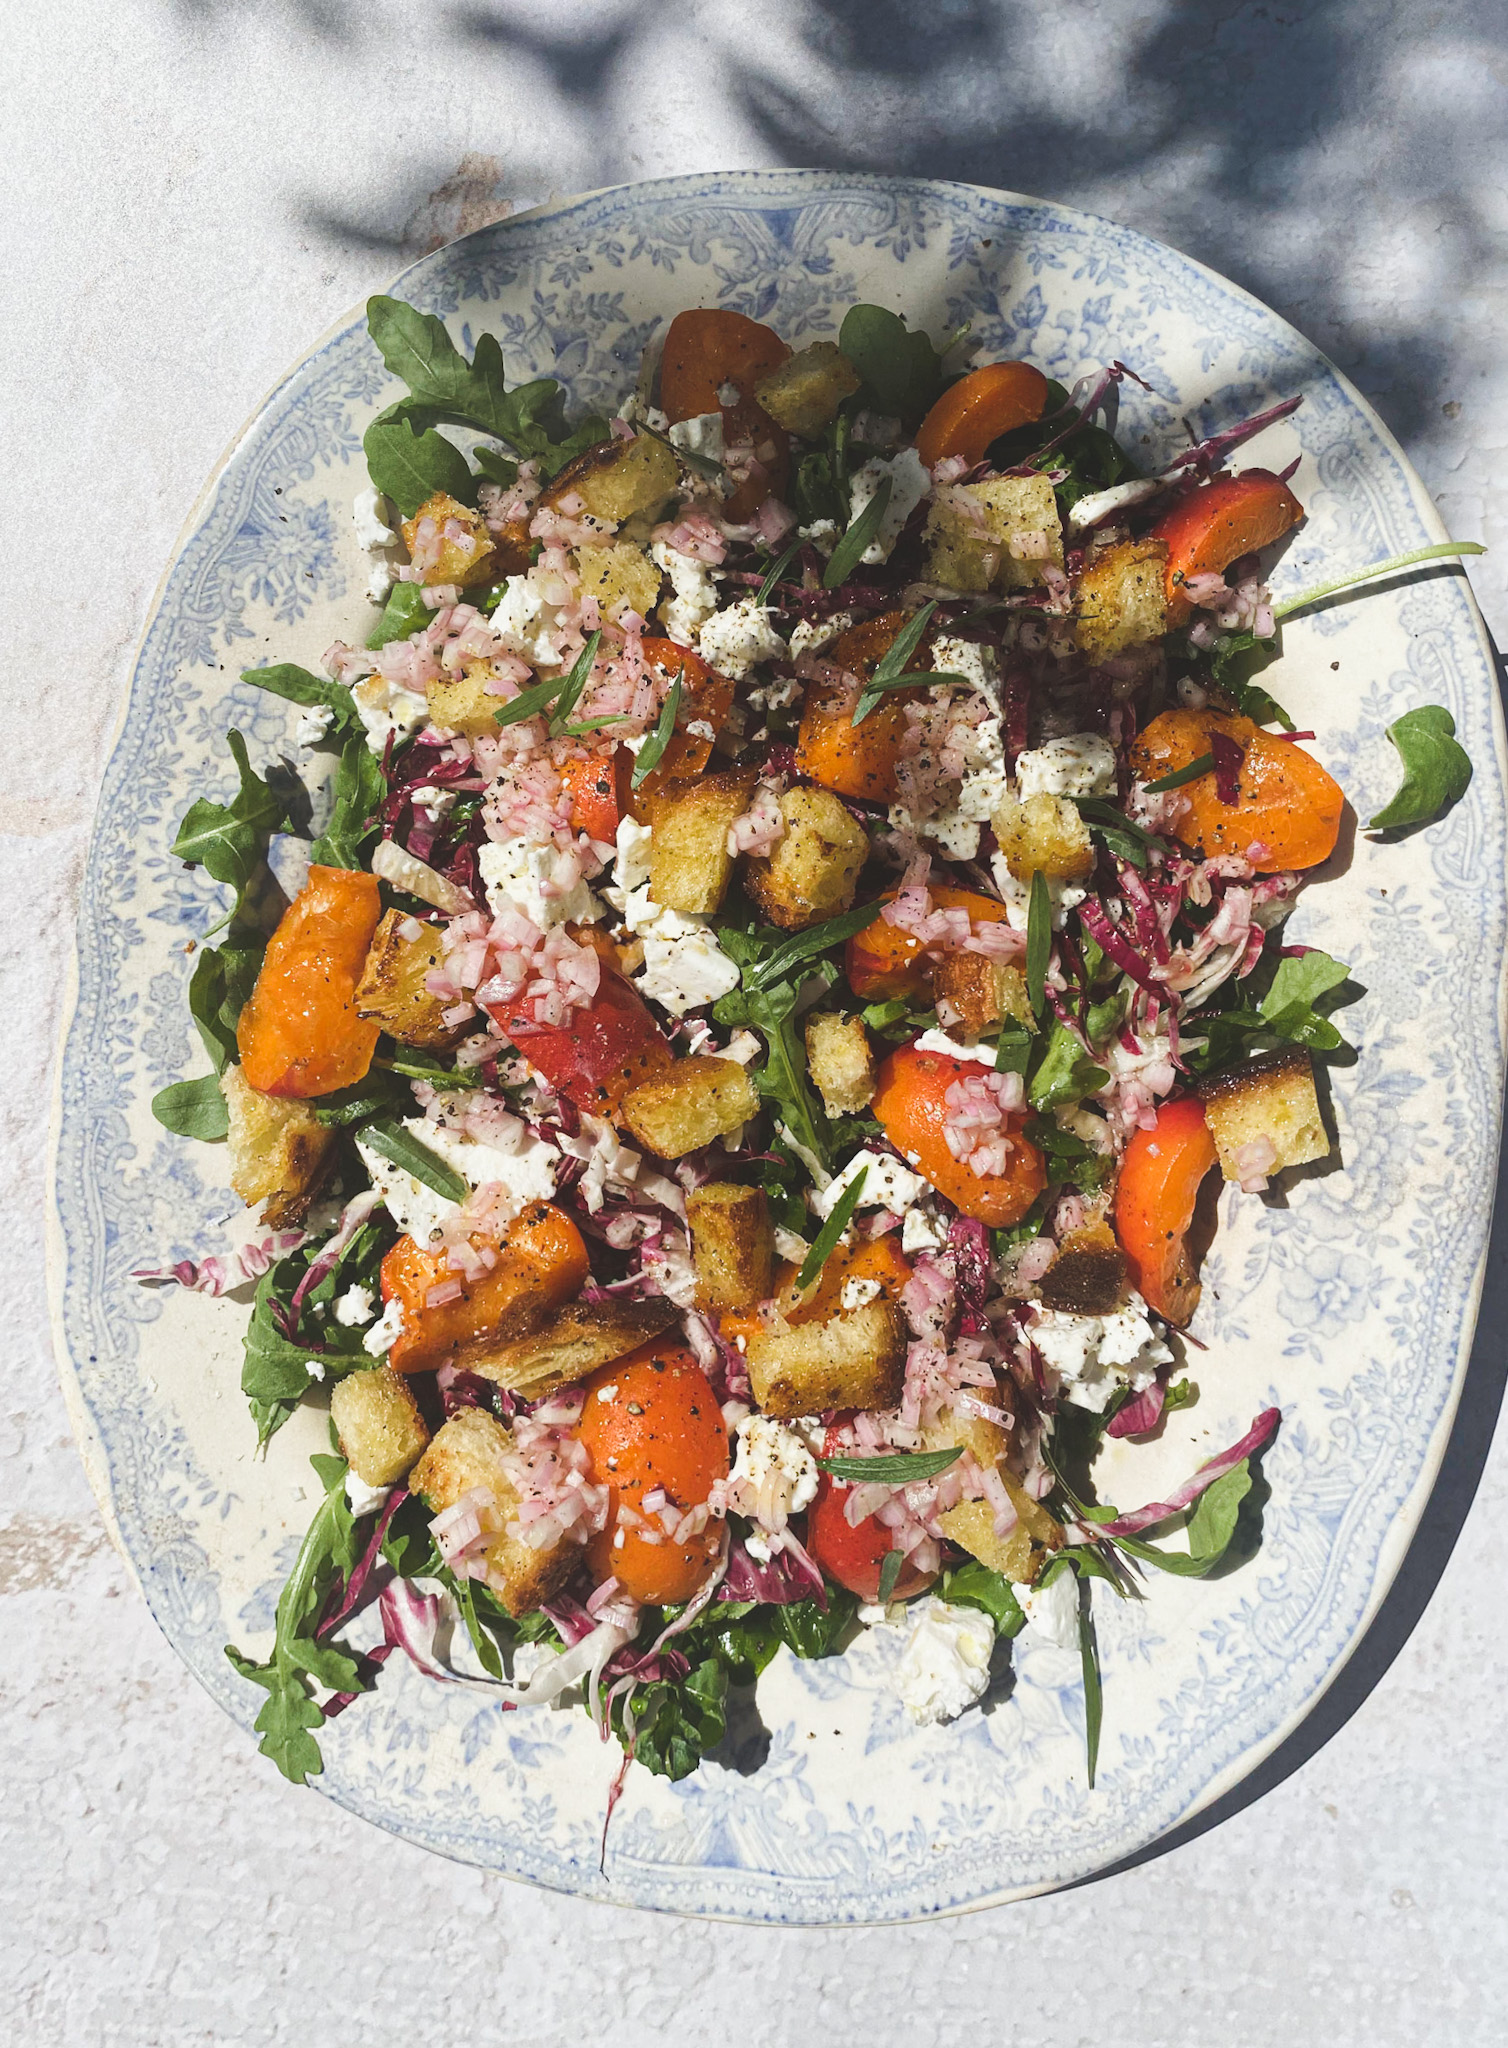
My guess is that there are many of you out there with a dream of writing and publishing your own cookbook but have no idea where to start, and the thought of bringing it into fruition seems somewhat unachievable. I was there myself, for a very long time in fact. That seed of an idea to write my own cookbook was planted many years ago but didn’t really start to germinate until I made a promise to myself that I WAS going to make it happen. I have always refused to believe the limitations we can put upon ourselves, telling ourselves that x, y and z is not possible because of this and that, so I set those limiting beliefs to one side and began my mission to publish my very own cookbook.
There is just so much I can share on this topic but I’ve aimed to keep it relatively brief, breaking it into two parts. In this post (part 1 & part 2), I share my personal experience of self-publishing my first cookbook, and hope to provide some helpful insights and inspire you to begin your own journey. If I can do it, you can too!


My book in the window of Daunt Books Holland Park.
Making a start
In recent years, I’ve always felt that time has somehow sped up and that I’m playing ‘catch up’. I often caught myself saying ‘I wish I could press pause on life’, I simply wanted the world to slow down around me so that I could set some time aside to focus solely on being creative. Then in 2020, lock down was announced and I suddenly got that sense of space and the permission slip I was hoping for to fully turn my attention to my creative endeavours. This was the perfect moment to make a start on my book, to stay at home with no distractions, get into my flow and CREATE. There was a lot of experimentation at this stage; music playing, dancing around my kitchen, testing recipes, tinkering with this and that, buying more food styling props, learning to improve my photography skills, watching endless tutorials to develop additional skills – I was fully immersed in it.
I thrive with a new creative project underway. I was excited and motivated. I was finally making it happen although at this point, not fully comprehending the long, winding road that lay ahead. I decided that I wanted to document everything so I took numerous behind the scenes photos and videos to share the entire process. Click here and here for some behind the scenes videos!
Now, because I’m extremely detail-oriented by nature and like to know all the moving parts of something, I decided I wanted to take on the project in its entirety, meaning I wouldn’t outsource a single aspect of it. But why would you do that? I hear you ask. Well first of all, I’ve always been of the mindset “if you want a job done well, do it yourself”, I think my mother partly instilled this in me but I’ve always loved to challenge myself. I thrive on learning new information (only if it’s of interest to me!) and expanding my skill set. I’ve a somewhat insatiable thirst for knowledge and drink it up like an elixir of life. But this of course comes with a caveat (cue the overwhelm), I had made this project 1000x harder for myself to navigate! Determined to learn all I needed to know to turn my cookbook dream into a reality, I knuckled down and just went for it.

A little motivational post-it note stuck on my oven and my book, Nourished Kitchen, sitting on the shelves of Daunt Books, Marylebone!
Designing the book and cover
I initially set out using Canva to design my book, mostly as this is what I was familiar with at that stage of the process, and then after doing some research, I later realised that this was perhaps not the best idea. While Canva is brilliant for many creative projects, business graphics, and even ebooks, I wouldn’t recommend it for designing a book that you wish to print and publish. So, I abandoned Canva, and moved over to Adobe InDesign, with no prior knowledge of how to use it. I just sat staring at a blank canvas for ages, pondering whether I should take this on myself or hire a designer that knows their way around this software. Of course, me being me, I chose the former option, which had me watching tutorial after tutorial to help me get my head around this new territory. Although it shared some similarities, it was not Canva, the ease of which had me fooled in to thinking InDesign might offer the same level of comfort to one’s brain, but no, as a beginner, it was a tad fiddly to master! Now of course, I have become well acquainted with the program and it’s like an old familiar friend to me (but one that gets on your nerves and lets you down from time to time!).
Once I’d familiarised myself with the software, I thoroughly enjoyed designing the layout, choosing the fonts, colours and design elements. Designing the cover was certainly one of the best parts of creating this book – I had so much fun playing around with various designs but very quickly settled on the final design and it was just how I’d imagined it to be.
I had selected the cover image quite early on in the process so I designed the rest of the cover around that. The recipe that graced the front cover was my Lemongrass and Coconut Noodle Broth (page 135). However, I only decided this when I was styling and shooting that particular recipe for the interior pages. I said to myself “that’s the cover image right there”. It felt very ‘me’; it happens to be one of my favourite recipes, and the pak choy offered the green hues, I knew I wanted to incorporate into the cover.
So, once I was happy with the final image for the main recipe page, I removed all of the props from the frame, selected a neutral background, and just shot this single bowl of food, delighted with my decision to make it the cover star. This was about 2 years before the book was finished so I knew for a long time what the cover was going to be, it was just a matter of tweaking the design.


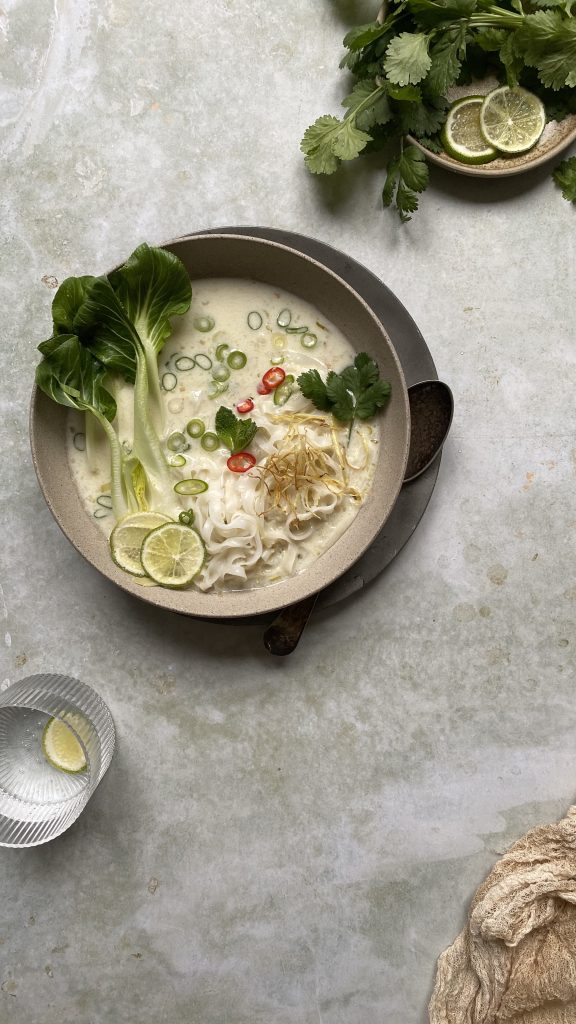
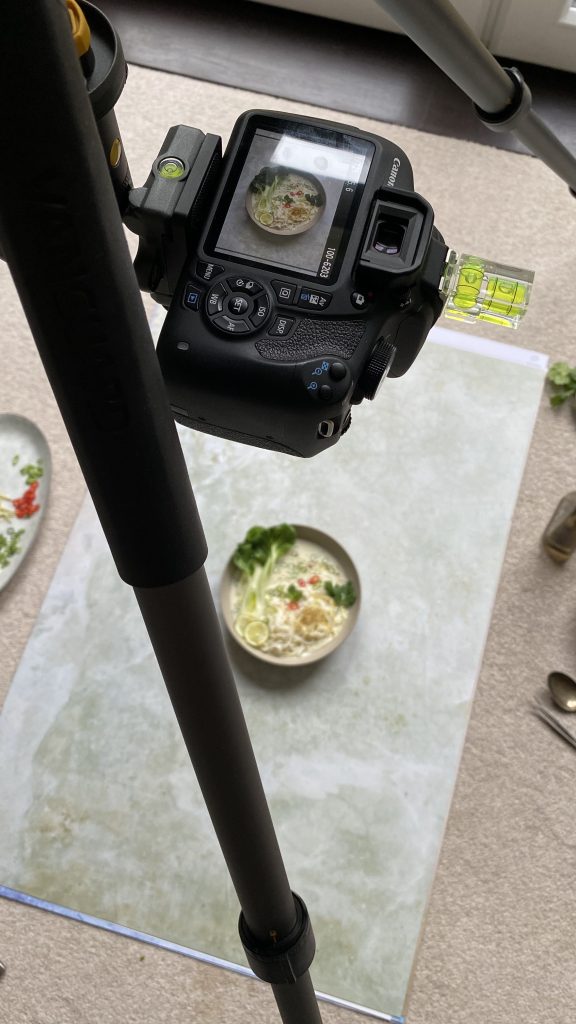
Some behind the scenes shots taken of the cover image – I opted for a different background to the one shown here, although this one was used for the interior recipe page.
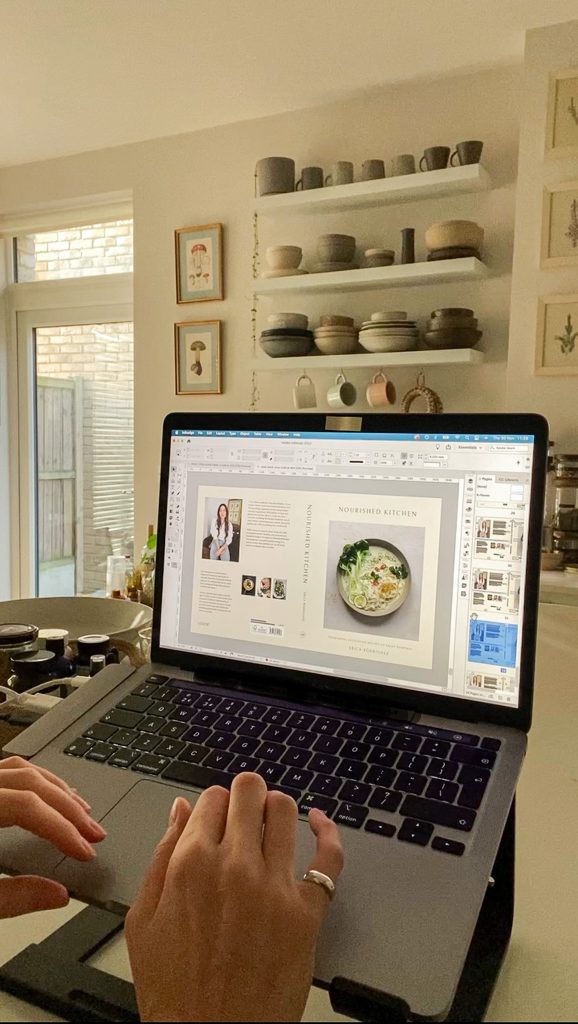
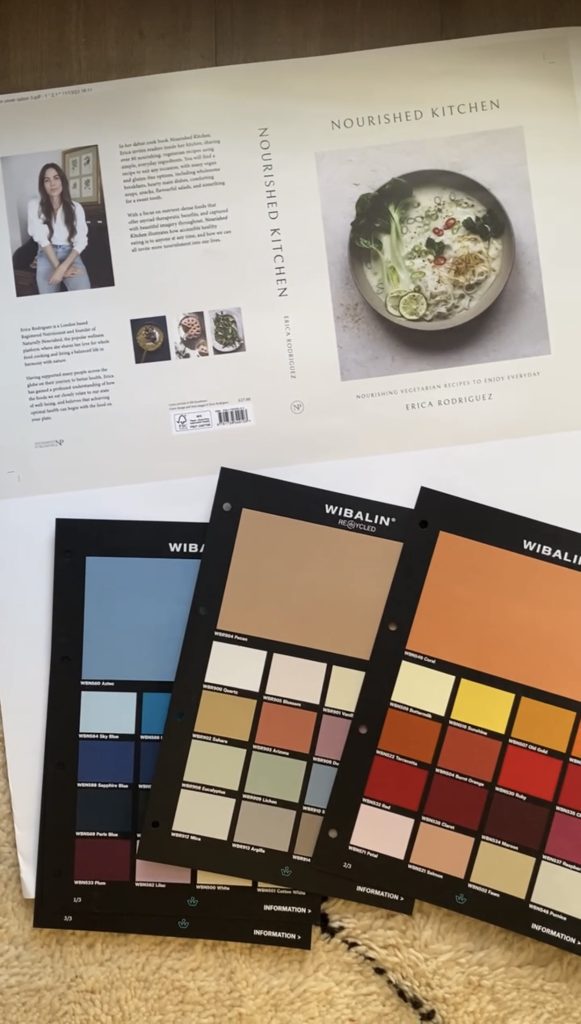

Left image: Designing the cover in InDesign. Centre image: My cover proof and end paper sample colours. Right image: There she is, in her full glory in Daunt Books!
Recipe development and testing
You know you’re fully in the swing of recipe creation when you’re developing recipes in your head as you drift off to sleep – different ingredients dancing before my minds-eye, as if auditioning for a talent contest, as I lay there conjuring up various ways to showcase them in a recipe. Then, upon waking, they’d sneak back into my consciousness – “PSSSSST, remember me?! It’s Betty The Blanched Beetroot!” It was a tad annoying when it prevented me from going to sleep, so I was armed with a notepad on my bedside table to quickly write down any ideas that popped up! Annnnnnnd sleep.
I also had a huge list of recipe ideas on my notes app and when inspiration stuck throughout the day, I’d quickly add to it. Firstly, I decided on the chapters I wanted to include for example ‘breakfast and brunch, salads, sides and small plates etc, and then I developed 8-12 recipes for each chapter of the book, ensuring that hero ingredients were not repeated too much. It was a lot easier coming up with recipe ideas once I’d outlined the chapters. Sometimes I’d be on a roll coming up with recipes ideas and flavour pairings, and other times I’d draw inspiration from cooking magazines, Pinterest, restaurants and my travels.
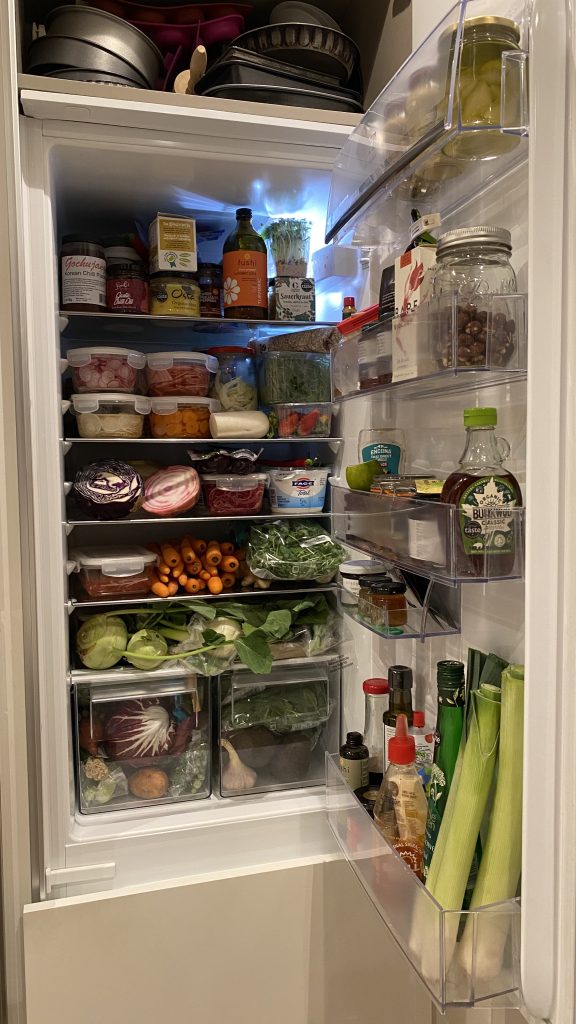

A well stocked fridge and some beautiful heirloom tomatoes ready for shooting.
For each recipe, I’d make a list of all the ingredients I wanted to include, thinking of flavours and textures that would work well together. Then I’d purchase the required ingredients for one or two recipes and get to work in the kitchen. If there were a couple of recipes that called for the same hero ingredients, I’d test these at the same time to make things more cost-effective and to limit surplus food. Minimal food was wasted as I pretty much consumed all of my testing!
When in the flow of making the recipe, I’d scribble everything down – the quantities, timings, and all the steps involved. I have a jumbo-sized note pad that contains all of my recipes – it’s like my recipe bible! Once the recipe was finished, I’d test it for flavour, texture, and of course, the visual appeal! I’d write notes about any changes I wanted to make, things like: “less salt”, “more acid”, “turn oven temp down”, “cook for slightly longer” etc. Anything that needed adjusting would be jotted down and I’d later re-test the recipe according to any notes I’d made. I’d take a quick snap of the dish on my phone for reference, which I’d later revisit when deciding on how to style it on the shoot day. Friends and family also make good recipe testers so whenever I had dinner guests, I would kill two birds!
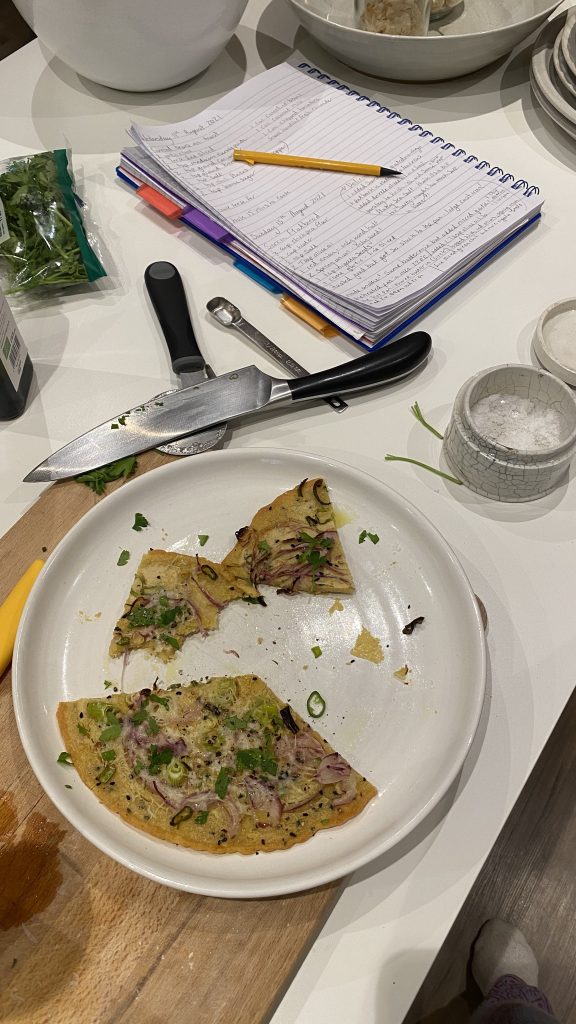
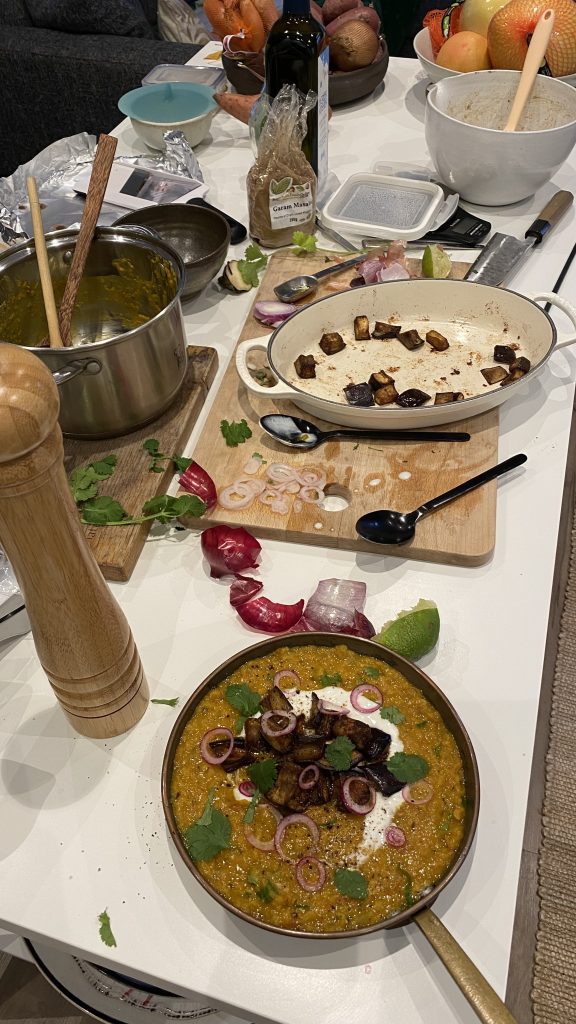

The recipe testing station, the all-important recipe bible, and my kitchen – where it all happened!
The photography and styling
I think this has to be the part I enjoyed most about creating Nourished Kitchen. As the making of this book spanned 3 years, my photography and styling skills improved with time, which meant I ended up reshooting a lot of the original images. I just stared at them knowing I could do better; when you’re a perfectionist, you’ll ALWAYS think you could have done better with this or that so it’s also important, for your own sanity, to know when to stop ‘tweaking’.
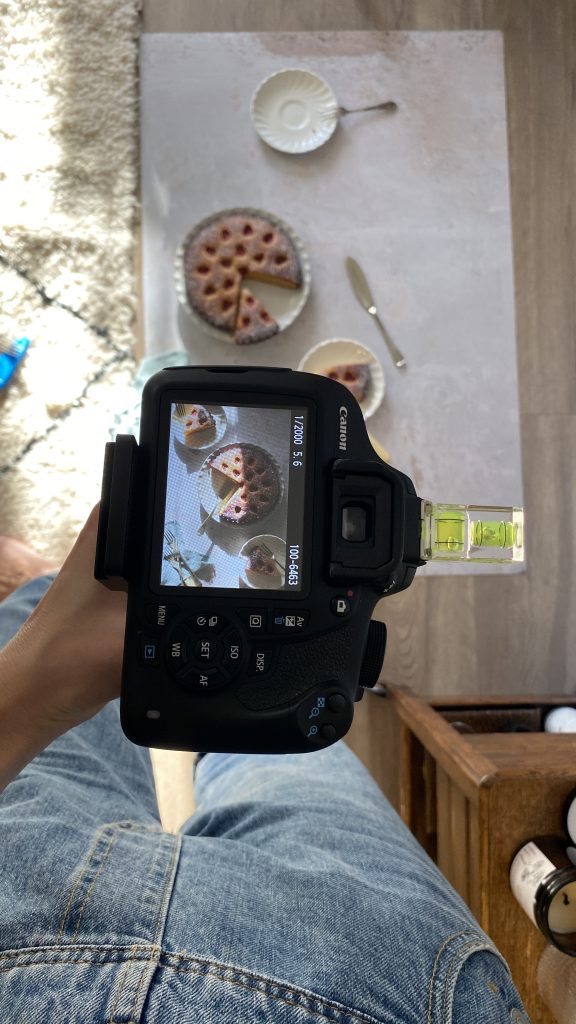
It was just myself and my trusty little Canon 1200d DSLR, one I’d had for several years, and up to that point, had never used it in manual mode – only auto. That soon changed as I geeked-out on more tutorials, learning about aperture, IOS, composition, colour theory, and all that I could to improve my photography and styling. There is a theme here as you might well be picking up on – I very much learned as I went along.
As I didn’t own artificial lighting whilst creating the book, the weather pretty much determined when I’d shoot. I’d plan my shoot days around the sunnier, brighter days as I only had a north and east facing windows in my home. Working with natural lighting however, meant tighter windows of time to work with so I’d prep as much as I could the day before to ensure I wasn’t running about wasting precious time on the actual shoot day. I’d would typically aim to shoot two recipes in a day but often it was only one, and the shoot days would usually take place on the weekends since I required minimal external distractions!
I’d plan what props, backgrounds and textiles I wanted to use and have those laid out ready to go. Writing lists of garnishes and finishing touches I wanted to include was also necessary since it’s so easy to forget something like that, and then kick yourself when you’ve finished shooting because you forget that sprinkle of nigella seeds, herbs or flaky sea salt. Texture and layering really do bring a dish to life, so these little details were really important to me.



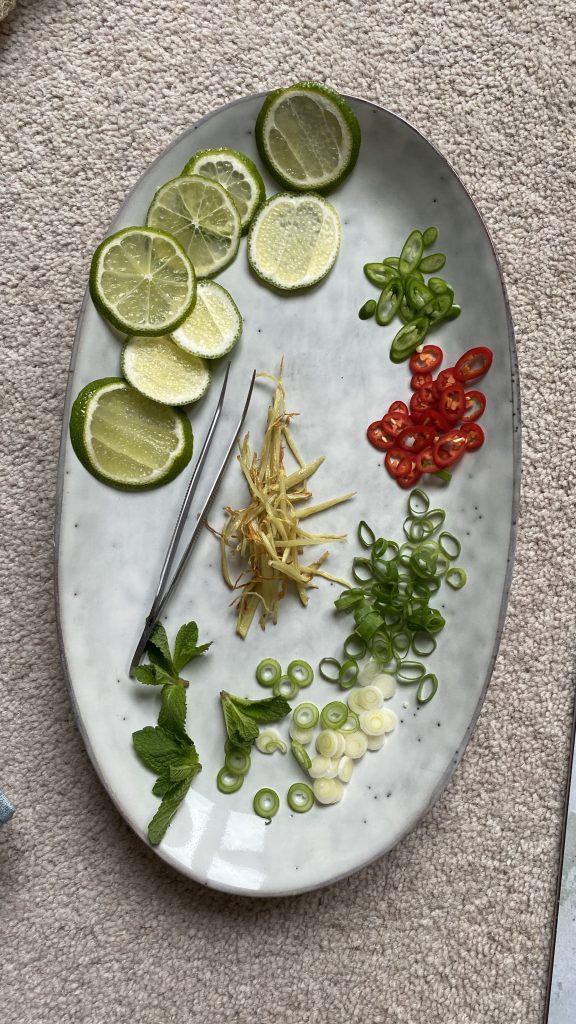
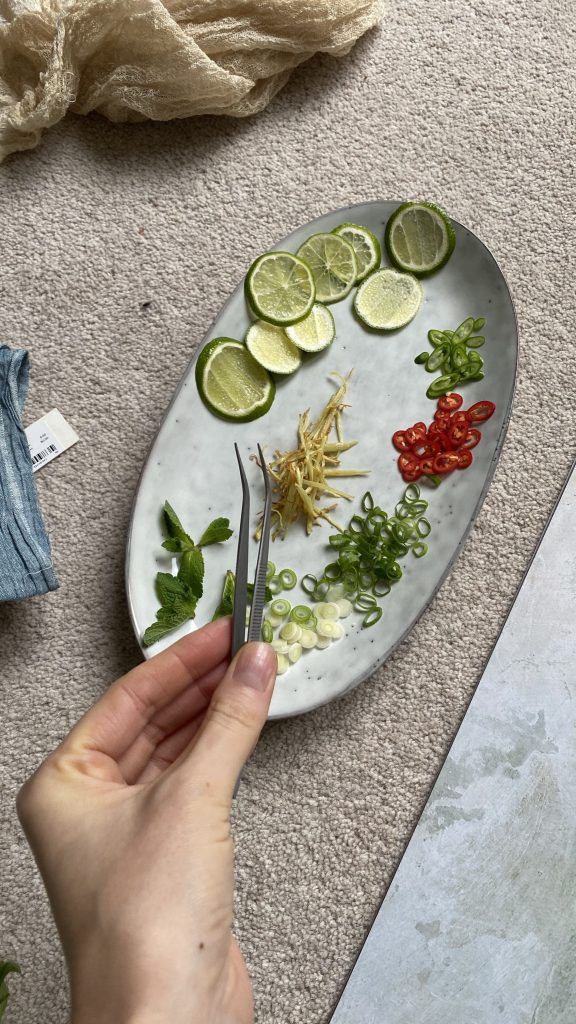
A prepped garnish plate, my trusty tweezers, props and textiles.
Just before shooting, I’d create a garnish plate and depending on the recipe, it would include things like lemon and lime wedges, slices of chilli, extra dressing to drizzle throughout shooting, herbs in pots of water to keep them fresh, flaky sea salt, a pepper mill, shaved parmesan. Oh, and not to forget my styling tools, like a water spritzer (to keep herbs looking fresh) and my trusty tweezers for some precision garnish placement! I would also make part of the recipe the night before, say a sauce that I’d just warm through on the day to get it nice and glossy looking, or a dressing for a salad.
I would often make a curry or dahl recipe the night before and just add the spinach or other greens the next day when heating it up to ensure the greens look vibrant and fresh. Working with food in this way really helps you understand how it behaves at different temperatures and what it requires to keep it looking good for the camera. Many of the dishes would need to be prepped fresh on the day but there was always something I could do prior to the shoot day to make it run more seamlessly; that way, I gave myself more time to focus of the styling and shooting. If I was extra organised, I’d do some practice shots of the props and backgrounds to play around with composition and complimenting colours. I always made sure all equipment was laid out, camera battery and laptop fully charged, because there’s nothing more frustrating than batteries dying and interrupting your creative flow!
At the end of a shoot day, I would feel completely spent (coupled with that buzzy feeling of accomplishment), because I’d often forget to eat (easy to do when you’re in the zone), but mostly because it can be very hands on during a shoot day when you’re the only person seeing to the food prep, photography, styling, cleaning up etc.
Tethering is something I introduced into my workflow at a later stage and oh boy was it a game-changer. That way, I could see the images on my laptop as soon as I hit the shutter, meaning I’d get a closer look at the image rather than trying to see it on my view finder on the camera. I could then make some quick edits to the image (I use Lightroom). I went from shooting like a mad woman, taking 50 odd images per recipe (ridiculous – I know!) to taking around 10 images and saving myself an editing-headache!
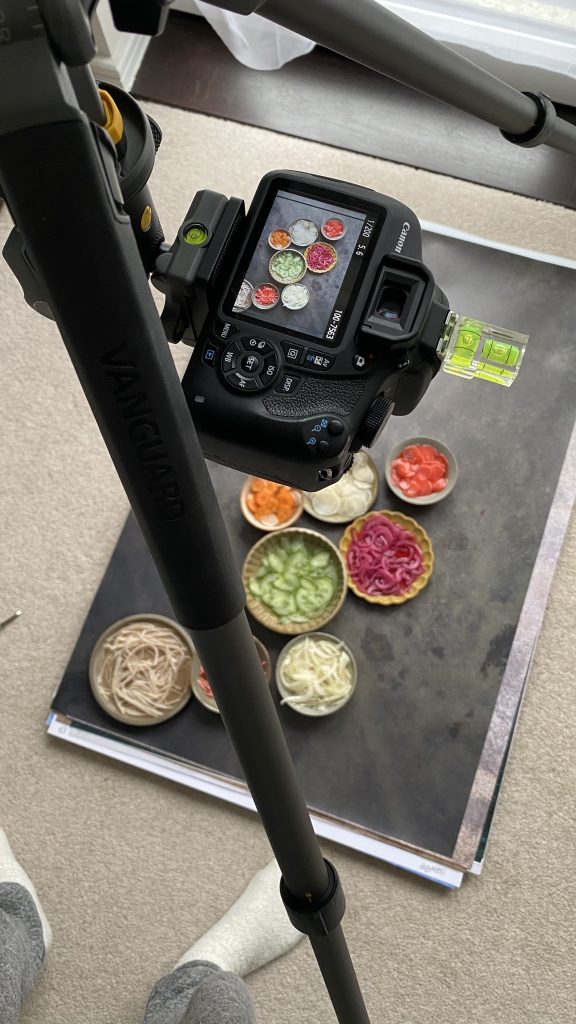


Styling, shooting, and in my flow.
To continue reading about my journey, please click here for part 2!
